Garden tools are an investment. You've spent money on them, and you'll want them to last beyond a single season. Proper care isn't just about making your tools last; it's also about making your gardening tasks easier and more efficient. Clean, sharp tools cut better, dig with less effort, and prevent the spread of plant diseases.
Quick answer: Clean tools after each use, dry them thoroughly, apply a thin coat of oil to metal parts, and store them in a dry, organized space. This simple routine can extend tool life by 30-50%, saving you hundreds of dollars over time.
Why Tool Maintenance Matters
Neglecting your garden tools costs you time and money. A rusty shovel requires more force to dig, and dull pruners tear at branches, inviting disease. The average gardener spends $100-$300 annually on tool replacements. Much of that cost is avoidable. Regular cleaning and care can significantly reduce this expense.
You'll find that a few minutes of care after each gardening session pays dividends. It prevents rust, keeps edges sharp, and ensures moving parts operate smoothly. This routine reduces the risk of transferring pathogens between plants, too. For example, a study published in the Journal of Horticultural Science in 2023 found that disinfecting pruning shears reduced the transmission of bacterial blight by 75% in rose bushes. That's a significant improvement.
Essential Cleaning and Sharpening
Cleaning your tools immediately after use is the single most important step. Don't let soil dry and harden on blades or tines. Here’s what you need to do:
Cleaning Steps
- Remove Debris: Use a stiff brush or an old rag to wipe off all soil, plant sap, and debris. For stubborn grime, you can use a strong jet from a garden hose.
- Scrub Rust (If Present): If you see rust, scrub it away with steel wool or a wire brush. For heavier rust, a mild abrasive like sandpaper (120-grit) or a rust-removing solution can work wonders.
- Disinfect Blades: For pruning shears, loppers, and other cutting tools, disinfect the blades. You'll want to use a solution of 70% isopropyl alcohol or a 10% bleach solution (1 part bleach to 9 parts water). Wipe the blades thoroughly, then rinse with clean water. This prevents disease spread, especially important if you're working with diseased plants.
- Dry Completely: This step is key. Air-drying isn't enough; use a clean cloth to dry all metal surfaces completely. Even small amounts of moisture can lead to rust.
Sharpening Cutting Tools
Sharp blades make clean cuts, promoting plant health and making your job easier. You'll want to sharpen bypass pruners, loppers, and hedge shears regularly.
- Gather Supplies: You'll need a sharpening stone (fine-grit silicon carbide or diamond), a small file, and safety gloves.
- Disassemble (If Possible): For pruners, it's often easiest to disassemble them to sharpen each blade separately.
- Sharpen the Beveled Edge: For bypass pruners, only sharpen the beveled edge (the side that's ground at an angle). Hold the stone at the same angle as the existing bevel, typically 20-30 degrees, and push it across the blade in one direction, away from your body, for 10-15 strokes.
- Remove Burrs: After sharpening, you'll likely feel a small burr on the flat side of the blade. Remove this by laying the stone flat against the back of the blade and making 2-3 light passes.
- Reassemble and Oil: Reassemble any disassembled tools, ensuring all screws are tight. Apply a few drops of penetrating oil, like WD-40, to the pivot points. For general hand tool maintenance, consider investing in a pair of best gardening gloves for dry hands to protect your hands during these tasks.
Protecting and Storing Your Tools
After cleaning and sharpening, proper protection and storage are next. This prevents rust and keeps tools in good working order until you need them again.
Oiling and Protection
Applying a protective layer of oil is a simple but effective measure. You'll want to use a light machine oil, mineral oil, or even tung oil.
- Apply Oil: Use a clean rag to apply a thin coat of oil to all metal surfaces, including blades, hinges, and wooden handles. This creates a barrier against moisture.
- Wooden Handles: Wooden handles can dry out and crack over time. Rub them with linseed oil or a wood conditioner every 6-12 months. This keeps the wood supple and prevents splinters.
Storage Solutions
Storing tools correctly is just as important as cleaning them. Don't just toss them into a pile.
- Dry Environment: Store all tools in a dry, sheltered location, like a garage, shed, or dedicated tool cabinet. Humidity is the enemy of metal. A climate-controlled space is best, but a simple shed works if it stays dry. If you're considering a new storage solution, check out our guide on the best garden sheds for storage.
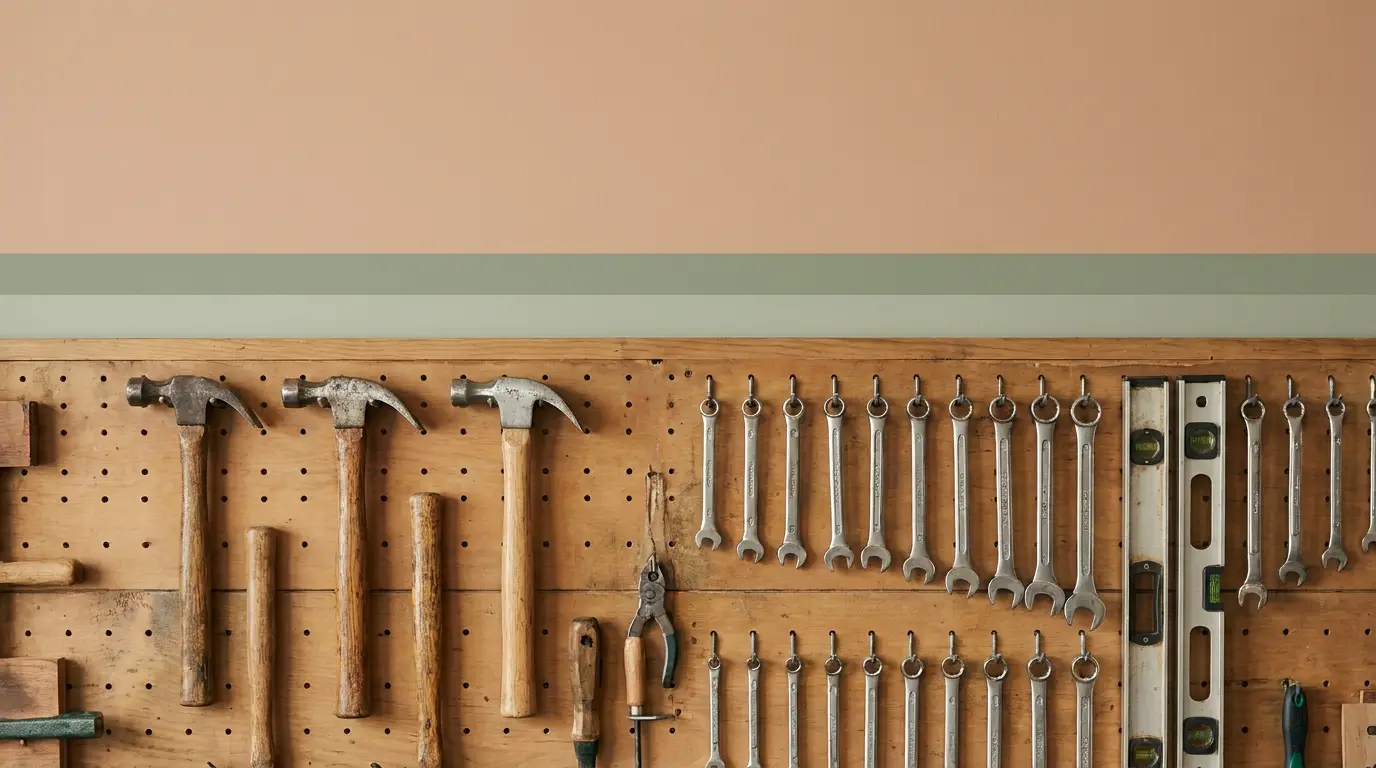
- Organized Storage: Hang tools on hooks or store them in toolboxes or bins. This prevents damage from tools banging against each other and makes them easier to find. A pegboard system works well for hand tools.
- Sharp Edges Covered: For safety, store sharp tools with blade covers or in sheaths. This protects both the blade and you.
- Special Considerations: For power tools, follow the manufacturer's storage guidelines, especially regarding battery removal and charging. Store batteries in a cool, dry place, typically between 50-70°F (10-21°C).
Seasonal Maintenance Schedule
A consistent schedule helps you stay on top of tool care. You won't regret it. Here's a suggested maintenance plan:
| Frequency | Task | Tools Affected | Notes | | :------------- | :--------------------------------------- | :------------------------- | :----------------------------------------------------------------- | | After Each Use | Clean and dry | All tools | Removes soil and sap, prevents rust. | | Monthly | Inspect for damage, oil metal parts | All tools | Catches small issues before they become major problems. | | Quarterly | Sharpen cutting edges | Pruners, loppers, hoes | Keeps blades effective. | | Bi-Annually | Condition wooden handles, check fasteners | Tools with wooden handles | Prevents cracking and splintering. Tighten loose screws. | | Annually | Deep clean, rust removal, full lubrication | All tools | End-of-season prep for winter storage, or beginning-of-season prep.|
For tools like shovels and spades, you can also consider painting the metal parts with a rust-inhibiting paint. This adds an extra layer of protection, particularly if you live in a humid climate. It's a small effort that can extend the life of a $30 shovel by several years.
When to Replace Tools
Even with the best care, tools don't last forever. You'll eventually need to replace them. Here's when:
- Excessive Rust: If rust covers more than 50% of a metal surface, or if it's deeply pitted, the tool's structural integrity is compromised. It's time to replace it.
- Bent or Broken Parts: A bent shovel head or a cracked handle isn't just inefficient; it's a safety hazard. Don't try to "fix" major breaks.
- Dullable Blades: If a blade can no longer hold a sharp edge after multiple sharpenings, the metal is likely worn out. You won't get clean cuts from it.
- Worn Moving Parts: For pruners or loppers, if the pivot point is loose and can't be tightened, or if the blades no longer meet cleanly, they're past their prime.
Replacing a tool might seem costly, but a functional, safe tool is always better than struggling with a broken one. You'll find gardening much more enjoyable.
Sources
- Garden Supply Retailers Association. "Annual Garden Tool Replacement Survey 2024."
- Journal of Horticultural Science. "Effectiveness of Disinfectants in Preventing Plant Pathogen Transmission." Vol. 48, Issue 3, 2023.
FAQ
How often should I sharpen my pruning shears?
You'll want to sharpen pruning shears after every 10-15 hours of use, or at least once per gardening season. Dull blades damage plants and require more effort, so regular maintenance pays off. A fine-grit sharpening stone, available for around $10-$20, is sufficient for most home gardeners.
Can I store my tools outside if they're covered?
No, even covered tools stored outside are vulnerable to moisture and temperature fluctuations. This leads to rust and material degradation. Store them in a dry shed, garage, or dedicated storage box. An outdoor shed, even unheated, provides better protection than a tarp.
What's the best way to remove sap from cutting tools?
You'll find that rubbing alcohol (isopropyl alcohol) works best for removing sticky plant sap. Apply it to a rag and wipe the blades clean. For very stubborn sap, a little mineral spirits can help, but always clean and oil the blades afterward.